")
There are many easy-to-miss quests in Baldur’s Gate 3, especially during the first act, which means the best way to ensure you don’t miss a thing is to follow an Act 1 Checklist. Most party members join the group early on, making it easy to become overwhelmed and forget things, often resulting in an attempt to return to quests after it’s already too late to finish them.
Given that your decisions affect aspects of the game and that Baldur’s Gate 3 is specifically designed for multiple playthroughs, it’s impossible to do everything in the game in one go. Therefore, this list is optimized to see the most things in a single playthrough, which typically means making strictly morally good and orderly selections.
Level 2/3 Checklist For Act 1
Meet Your Party Members & Begin Companion Quests
After completing the prologue, you will find yourself alone on the Ravaged Beach. Your character level will range between 1 and 2 during the beginning of the First Act, depending on whether you decide to fight Commander Zhalk in Baldur’s Gate 3. Regardless, your first order of business should be to recruit a small team and take on some of the easier challenges.
It’s a good idea to start thinking about any potential storylines you may be interested in and which companions you want to romance in Baldur’s Gate 3, since some of these early decisions with your companions can massively affect their story later on and their overall feelings about you.
|
Activity |
Map Area |
Notes and Outcome |
|---|---|---|
|
Revive Shadowheart |
Ravaged Beach |
Shadowheart will be lying nearby, unconscious. You may examine her artifact, but this may annoy her. |
|
Encounter Astarion |
Ravaged Beach |
Astarion will ambush you along the northern beach road. |
|
Save Gale |
Ravaged Beach |
Gale is trapped in a portal affixed to a stone. NOTE:During a Dark Urge playthrough, it is possible to permanently rip off Gale’s arm while fantasizing. |
|
Explore the Crashed Ship |
Ravaged Beach |
Finish off a dying Mindflayer. |
|
Free Lae’zel |
Ravaged Beach |
Open Lae’zel’s cage with any ranged attack or Cantrip. |
Especially if you’ve already played through before, you may know that decisions made in virtually any conversation can drastically affect aspects of the game. They can incite unnecessary fights, turn potential party members into enemies, or incur other undesirable permanent game outcomes. That being said, something to keep in mind, if you’re comfortable with it, is save scumming.
Save scumming is essentially continuously creating save points that you can then revert to if the outcome you produce the first time isn’t what you wanted. While some might feel this is disingenuous, it is the best way to ensure you get the playthrough you want. My recommendation is to do an initial playthrough and commit to your choices to see what happens, and then maybe start save scumming on your second playthrough.
|
Activity |
Map Area |
Notes and Outcome |
|---|---|---|
|
Explore the Ruins |
Ravaged Beach |
Multiple fights against bandits and the undead. This results in recruiting Withers, who will remain in your camp. |
|
Emerald Grove Gates |
Risen Road/ Emerald Grove |
Make sure all the scouts survive. Afterward, you can ask Wyll to join the party. |
|
Help Arabella |
Emerald Grove |
Make sure Arabella survives the snake. Unlocks more events in Act 2. |
|
Meet Healer Nettie |
Emerald Grove |
After getting on her good side, explore the Druid’s Chamber for a nice spear. |
|
Meet Alfira |
Emerald Grove |
Note: Make sure to knock her out if you are playing the Dark Urge. |
Even if you have already completed an initial playthrough, another thing to keep in mind is thatBaldur’s Gate 3 Patch 8 added new subclasses. This means there are several entirely new options to choose from, making them a great way to begin another playthrough without things feeling monotonous.
Keep in mind that while there are what are considered to be traditional good and bad endings, Baldur’s Gate 3 is more about the experience than the outcome. There is no right way to finish the game, so unless you have a specific goal in mind, no choice you make in anything from Act 1 to Act 3 is the wrong one.
|
Activity |
Map Area |
Notes and Outcome |
|---|---|---|
|
Investigate the Beach and Find Mirkon |
Emerald Grove |
Defeat all the Harpies before they reach and kill the dazed Mirkon. |
|
Recover the Locket |
Emerald Grove |
Steal back Barth’s locket from Meli or a locked chest in the child thieves’ hideout. |
|
Bugbear Assassin |
Emerald Grove |
Save Nadria from the lone Bugbear on the upper gate. |
|
Recruit Karlach |
Risen Road |
Find Karlach by leaping across the river outside Emerald Grove to avoid the roaming Gnolls. |
|
Save Scratch |
Risen Road |
Find the dog by his dead master and allow him to come to camp. |
|
Defeat the Owlbear |
Risen Road |
Defeat the mother Owlbear while letting the cub live. This will allow you to gain the Owlbear cub as a pet that appears in your camp. Also, take Shadowheart deeper into the cave for her commentary. |
|
Rescue Barcus from Goblins |
Blighted Village |
Save the Gnome by turning off the windmill. |
Since there are a handful of characters that don’t particularly align, you may have some tension in your party depending on who you recruit. For example, Shadowheart and Lae’zel will frequently get into arguments or disagree, and appeasing someone like Minthara may mean making several decisions that members of your party will not agree with.
Keep in mind that, to add to the previous statement, party members have their own sense of morality. This means that even if you’re sweet-talking them in the camp, they may be put off by you if you make decisions that don’t align with their idea of what you should do. Complicating matters further, not everyone will always agree, so you can’t make everyone happy. This is especially important to keep in mind if you’re planning to romance someone specific.
|
Activity |
Map Area |
Notes and Outcome |
|---|---|---|
|
Search the Cellar and Repair Karlach’s Engine |
Blighted Village/Emerald Grove |
Explore the locked cellars to find Infernal Iron. Give this to Dammon to begin basic repairs. |
|
The Ancient Tome |
Blighted Village |
Pass multiple skills checks with the Ornate Mirror and Ancient Tome. |
|
Ogre Mercenaries |
Blighted Village |
Convince the Ogres to work for you for a fair price. |
|
Rescue Volo |
Goblin Camp/Shattered Sanctum |
Talk to Gribbo and convince them to release Volo. |
|
Embrace Pain |
Shattered Sanctum |
Speak to Abdirak and agree to be whipped. Bring Astarion and Shadowheart for more reactions. |
|
Free the Owlbear Cub |
Goblin Camp |
Win Chicken Chase, either legitimately or by casting |
|
Clear Out the Goblin Party |
Goblin Camp |
Kill and/or poison every Goblin partygoer on the outside of the Goblin Camp. |
In addition to having to stay on your potential romance partner’s good side with story-based decisions, you’ll also want to keep in mind how you go about engaging with other party members. While some members are fine with you romancing multiple partners, other party members are not, and you could indirectly hurt your relationship if you pursue someone else as well.
Some of the biggest decisions you’ll make during Act 1 that will affect future aspects of the game are going to be how you deal with the Emerald Grove, Minthara, and the Mind Flayer Parasite.
Level 4/5 Checklist For Act 1
Rescue Halsin From The Goblin Camp & Recruit Minthara
You should soon be around the fourth or fifth level unless you are speedrunning Baldur’s Gate 3’s Act 1. Level 5 is an important milestone, as many classes will begin to unlock their key combat features. For example, the Eldritch Knight Fighter will have two attacks per action. This change, along with your party’s overall ability to deal more damage, makes previously difficult fights more likely to end in your favor.
|
Activity |
Map Area |
Notes and Outcome |
|---|---|---|
|
Rescue the Grand Duke |
Risen Road |
Approach Waukeen’s Rest and save the leaders inside. NOTE: if you walk away, Florrick will die. |
|
Rescue the Trapped Man |
Risen Road |
Use Baldur Gate’s 3’s Turn Based mode to easily get Benryn out of the burning building. He will ask you to find his wife, Miri. |
|
Help the Artist |
Risen Road |
Agree to pay the Artist’s debts to the Zhentarim. |
|
Locate the Shipment and Fight the Gnolls |
Risen Road |
Agree to recover the Zhentarim cache by killing the Gnolls outside the Tollhouse. NOTE: if you had opened the cache the Zhentarim will openly attack. |
The Shattered Sanctum is where you’ll first be able to encounter Halsin. While he will join you, he won’t be as fully integrated into your party as some others until later on, when you complete a story quest specific to his character. So, once he joins the campsite, don’t be put off if he doesn’t seem immediately thrilled with your company.
|
Activity |
Map Area |
Notes and Outcome |
|---|---|---|
|
Confront the Paladins of Tyr |
Risen Road |
Bring Karlach to fight the Paladins inside the Tollhouse. |
|
Uncover the Shadow Druids |
Emerald Grove/Sunlit Wetlands |
Investigate the notes in Kaga’s room that lead to the Wetlands meeting point. Then, confront Kaga directly. |
|
Free Sazza |
Emerald Grove/Shattered Sanctum |
Release the Goblin prisoner and escort her to the Goblin Camp. Convince Minthara that Sazza is lying. |
|
The Phase Spider Cave |
Blighted Village |
Defeat the mother spider living under the village. It can be knocked off the ledge into the Underdark. |
|
Locate Halsin |
Shattered Sanctum |
Find Halsin in the dungeons. He asks to join you, but just know that this will make the whole Sanctum hostile. |
|
Defeat Priestess Gut |
Shattered Sanctum |
Covertly kill Gut without anyone sounding the alarm drum. Note: the alarm drum can also be disabled. |
When you encounter Minthara and are working to rescue Halsin, you’ll need to be very careful if you have any hopes of recruiting Minthara. If you provoke a fight and kill her, you’ll have no chance to recruit her and will instead only be able to loot her of her armor and a few small things.
If you’re planning to recruit her, you need to use non-lethal attacks to take her out of the fight without actually killing her. This is another important thing to keep in mind throughout the rest of the game, should you accidentally incite fights with characters you don’t want to kill.
|
Activity |
Map Area |
Notes and Outcome |
|---|---|---|
|
Knock Out Minthara |
Shattered Sanctum |
Use non-lethal attacks on Minthara so she can still be recruited. |
|
Kill Dror Ragzlin |
Shattered Sanctum |
Kill the last Goblin leader, along with any stragglers left in the Sanctum. Dror must be killed last to meet the conditions for recruiting Minthara, as killing him, even stealthily, turns the whole place hostile, including Minthara, and can’t be reversed. |
|
Meet Gandrel |
Sunlit Wetlands |
Bring Astarion to dupe or kill the Gur. |
|
Defeat Auntie Ethel and Help Mayrina |
Sunlit Wetlands |
Defeat Ethel and her illusions. Then, help Mayrina deal with Connor and any other Hag survivor. |
|
Lae’zel and the Githyanki Patrol |
Emerald Grove/Risen Road |
Lae’zel will rush to Voss and his troops. Use diplomacy or fight them outright. |
|
Raphael Arrives |
Risen Road |
The devil Raphael will appear in various spots around the map. |
While Auntie Ethel is a sweet old woman on the surface, fighting the Hag in Baldur’s Gate 3 is nothing to take lightly. This could easily result in your first total party kill, as you’re going to face several tasks while working your way to her that will damage your health, and you won’t be able to perform a long rest to recoup in between.
The only way you’ll be fully replenished before that fight is if you sneak around her to her back room in the area where she has imprisoned Mayrina. Once you do, you can sneak out, long rest, and then sneak back in. While this is time-consuming and risky, it’s highly recommended if you don’t want to risk everyone dying in this fight.
Level 6 (& Beyond) Checklist For Act 1
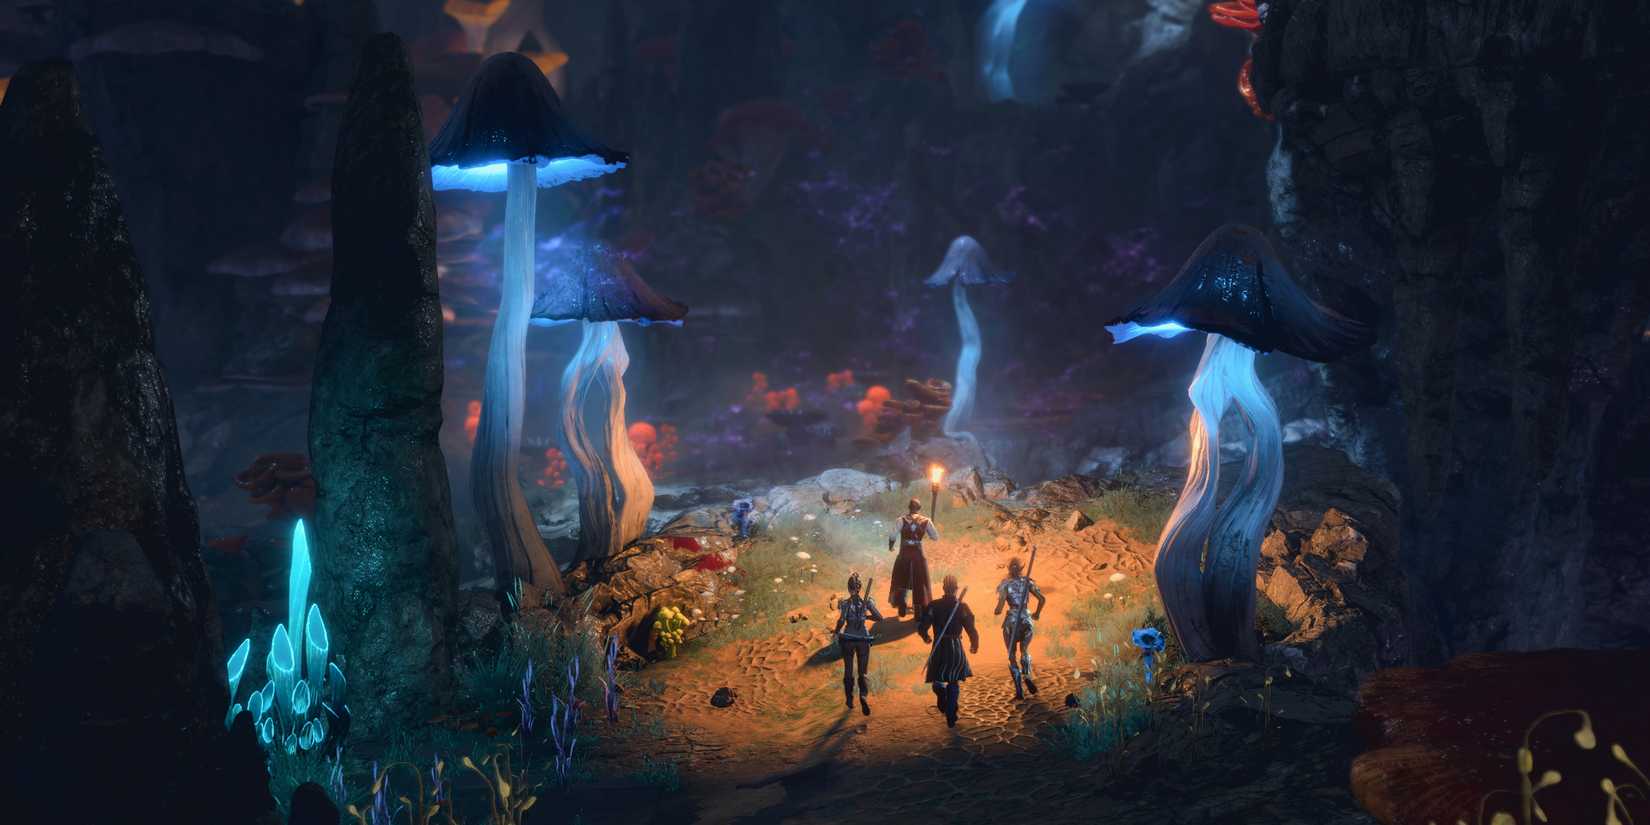
Explore The Underdark & Help The Myconids
Rosymorn Monastery and The Underdark are separate areas, but both officially mark the ending of Act 1. You should consider returning to some of the optional quests in these areas later on, since many of them can still be quite tricky this early, and are not necessarily time-restricted. If you take one path through the end of Act 1, you can access the other in Act 2 to see everything you missed.
|
Activity |
Map Area |
Notes and Outcome |
|---|---|---|
|
Save the Poisoned Gnome |
The Underdark |
Cast Lesser Restoration on Thulla. She will also give you a pair of boots. |
|
Help the Mushroom Picker |
The Underdark |
Save Baelen Bonecloak by throwing him a |
|
Defeat the Duergar |
The Underdark |
First, give Gekh Coal the boots Thulia had. Then attack his band. NOTE: Glut can be brought along for extra support. |
|
Decide Glut’s Fate |
The Underdark |
After Gekh is defeated, decide if Glut should die or help take over the Myconids |
|
Make a Masterwork and the Sussur Tree |
The Underdark |
Defeat the Hook Horror around the tree, then use the bark to complete a Masterwork Weapon. |
 Scroll of Misty Step
Keep in mind that several time-constrained events happen while in the Underdark of Baldur’s Gate 3, so if you’re progressing and picking up quests, don’t forget to keep an eye on the ones that have potential deadlines. Otherwise, you may venture off to save people only to find that they tragically perished already.
|
Activity |
Map Area |
Notes and Outcome |
|---|---|---|
|
The Spectator |
The Underdark |
Defeat the Spectator and its enthralled Drow. |
|
Find Explosives |
Grymforge |
Locate explosive barrels around Grymforge to free Nere. |
|
Kill Nere |
Grymforge |
Side with Brithvar and execute all the True Souls. |
|
The Forge |
Grymforge |
Destroy the Forge Guardian and create Adamantine equipment. |
|
Bring Lae’zel to the Creche |
Rosymorn Monastery |
Infiltrate the Githyanki Crèche and help Lae’zel escape. |
|
Deliver the Githyanki Egg |
Rosymorn Monastery |
Secure a Gith egg and give it to Lady Esther for an update in Act 3. |
|
The Blue Jay and Eagles |
Rosymorn Monastery |
Kill the giant eagles on the roof and report back to the blue jay via |
|
The Blood of Lathander |
Rosymorn Monastery |
Complete the Blood of Lathander puzzle. Or, purposely botch it and escape spectacularly. |
Note that the Shadowlands-focused Second Act of Baldur’s Gate 3 is much larger and will have many decisions that significantly affect your overall ending, so be prepared before moving on.
Baldur’s Gate 3

- Released
-
August 3, 2023
- ESRB
-
M for Mature: Blood and Gore, Partial Nudity, Sexual Content, Strong Language, Violence


